Dashboard
Upon logging into your OpsLyft account, you'll be presented with the OpsLyft dashboard. This central hub provides you with a comprehensive view of your entire cloud infrastructure and the overall health of your organization. In this section, we'll walk you through the key features and actions you can take within the dashboard.
Creating a Dashboard
- To get started, you can create a new dashboard by clicking the "+ Create Dashboard" button located in the top-left corner of the dashboard interface.
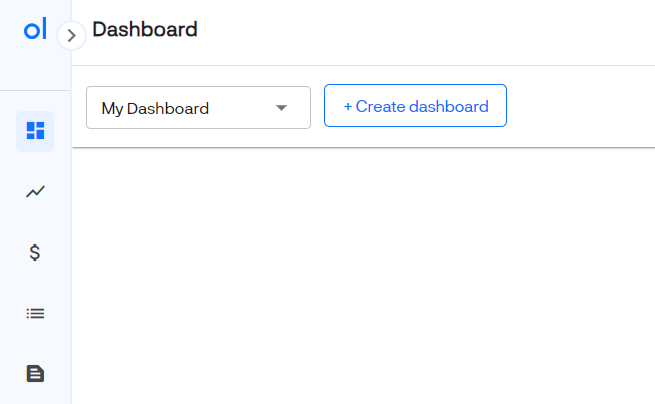
- A modal will appear where you can enter a name for your dashboard.
- Once you've named it, click "create" to initiate the process.
OpsLyft allows you to manage multiple dashboards to suit various needs.
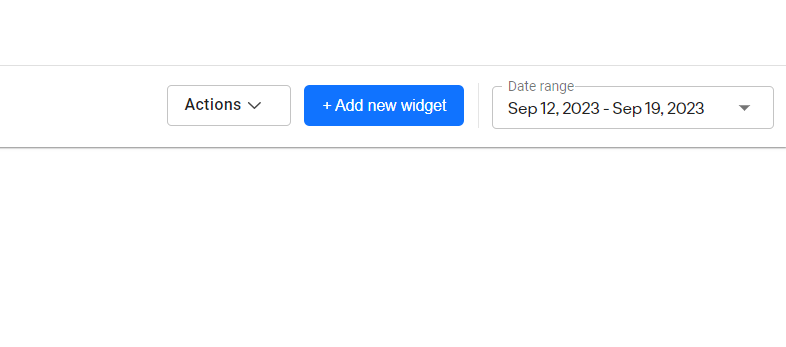
Dashboard Actions
OpsLyft also provides you with the ability to perform actions on your dashboards. Click the "Actions" button on the dashboard panel at the top to access options such as renaming, downloading, or deleting a dashboard.
Personalizing Your Dashboard
Once you've created a dashboard, it's time to personalize it according to your specific requirements.
To do this, click the "+ Add New Widget" button located in the upper-right corner of the dashboard. Here, you'll encounter two options:
1. Adding a New Widget
Think of widgets as customizable sections that utilize different chart types to provide insights into your cloud cost and usage.
- To add a new widget, choose a category based on your needs, such as "cloud cost analysis", "aggregations & forecasting", "budgets" or "inventory cost analysis."
- Select your cloud provider, apply filters from our detailed filter section, and specify aggregation and cost types.

- A live preview of the widget will be displayed on the right side of the modal. Once you're satisfied with your widget's configuration, click "Create Widget" in the bottom-right corner.
Your widget will be added to the dashboard, and you can freely resize and arrange it as needed.
2. Using a Template
Templates are preconfigured sets of widgets designed for specific use cases. They update automatically and can be edited, shared, or downloaded as reports.
- To use a template, click the "Use a template" button, then select the desired template based on your use case.
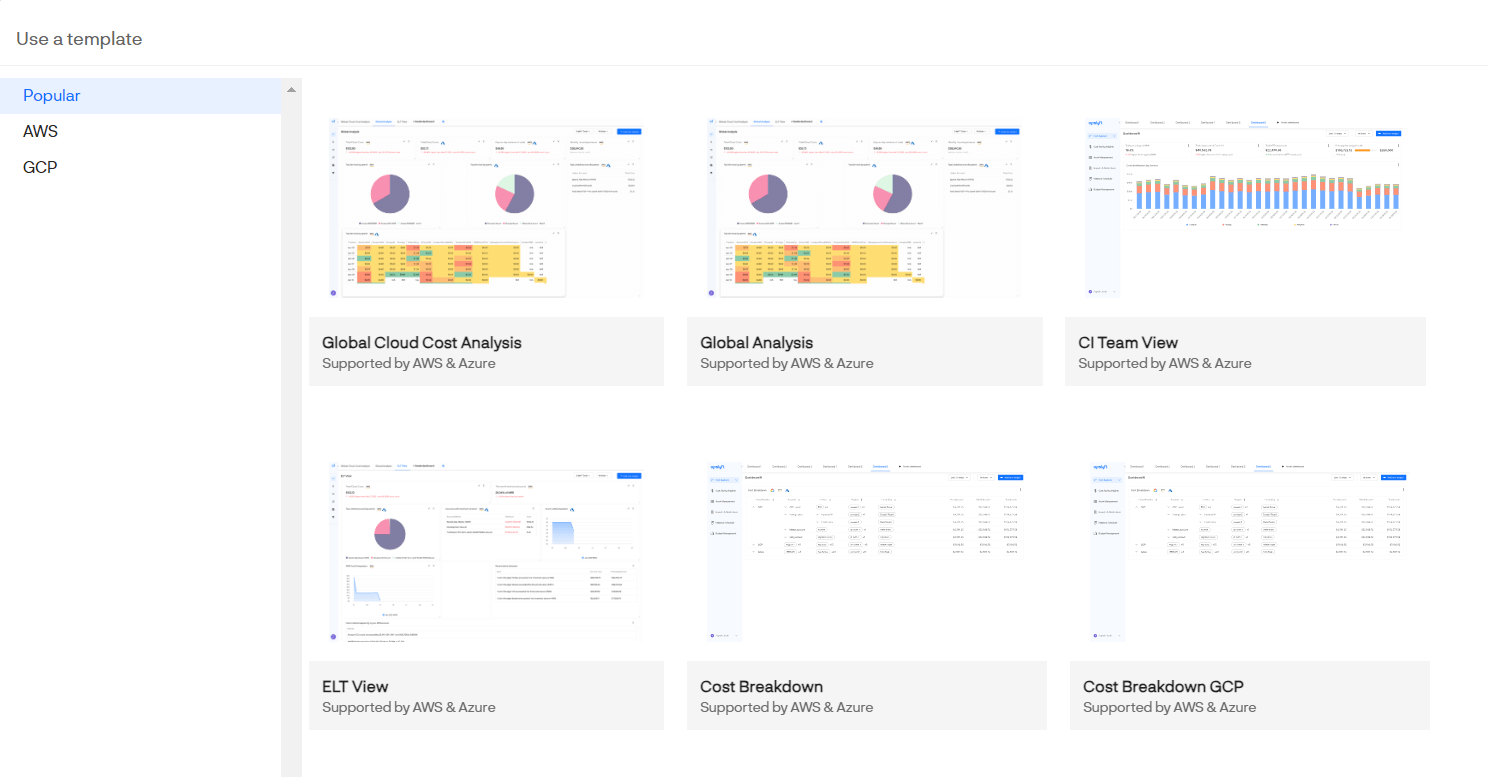
The template will be automatically applied to your dashboard. Like individual widgets, you can resize, drag, and arrange the various template components within the dashboard.
Date Range Selection
Once you've created and personalized your dashboard, you can fine-tune your data analysis by selecting a specific date range. This feature allows you to focus on the precise timeline that matters most to your analysis.
Customizing and managing your OpsLyft dashboard is a powerful way to gain actionable insights into your cloud infrastructure and optimize your organization's cloud resources effectively.